
Before you even think about tackling that wine stain or the remnants of last night's pizza, there's one critical step you absolutely cannot skip: checking the manufacturer's cleaning tag. This little piece of fabric is your roadmap. It tells you exactly what you can—and more importantly, what you can't—use to clean your upholstery without causing a disaster.
Once you know the code, you can move forward with confidence, vacuuming up the loose stuff and spot-testing the right kind of cleaner for your specific fabric.
Your Guide to Sofa Upholstery Care Starts Here
Let's be real—your sofa is the heart of your home. It’s where you binge-watch your favorite shows, cuddle with your pets, and collapse after a long day. But all that living means it inevitably collects dust, crumbs, pet hair, and the occasional mystery spill.
Knowing how to clean it the right way doesn't just make it look better; it actually extends its lifespan and makes your home a healthier place to be.
This guide is designed to take the guesswork out of the process, turning a chore you’ve been dreading into a totally manageable project. We’ll start with the most important thing you can do before a single drop of cleaner touches that fabric: understanding its secret language.
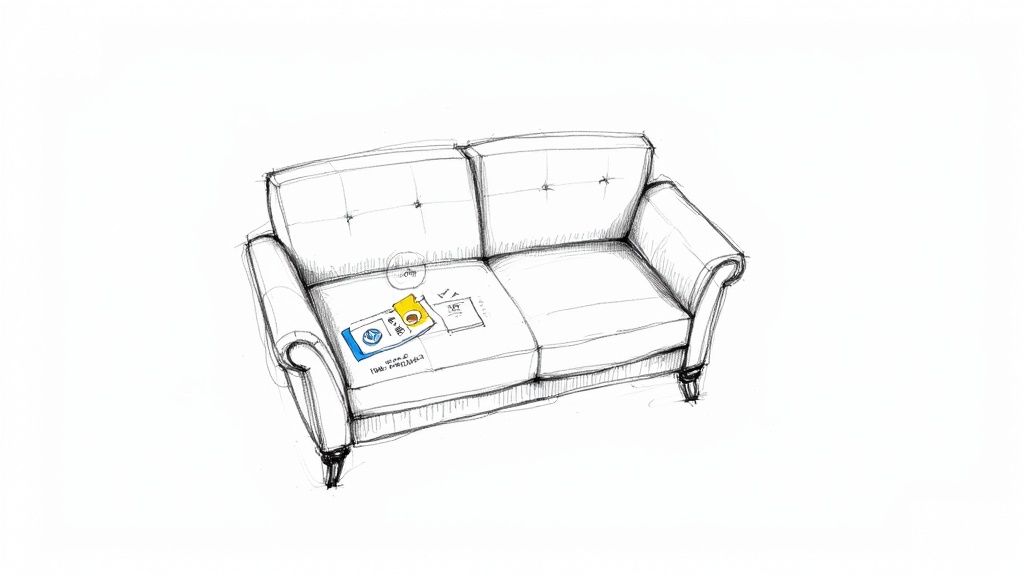
Decoding Your Sofa's Cleaning Tag
Think of that little tag tucked away on a cushion or under the frame as the sofa's instruction manual. Ignoring it is the quickest way to end up with water rings, faded spots, or even worse, shrunken fabric. These codes are universal for a reason—they tell you exactly which cleaning agents are safe.
You'll usually find the tag somewhere on the cushions or along the base of the sofa. Here's a quick reference to help you figure out what you're looking at.
Upholstery Cleaning Codes at a Glance
This table breaks down the common codes you'll find and what they mean for your cleaning plan.
| Code | Meaning | Safe Cleaning Agents |
|---|---|---|
| W | Water-Based Cleaner | Gentle soap, upholstery shampoo, water-based solutions |
| S | Solvent-Based Cleaner (Dry) | Water-free solvents, dry cleaning solutions only |
| W/S | Water or Solvent Cleaner | Can use either water-based or solvent-based cleaners |
| X | Vacuum Only | No liquids of any kind. Brushing and vacuuming only |
Finding this tag and understanding the code is your first win. It eliminates the guesswork and sets you up for success, so you're not just hoping for the best.
When you consider that the average person spends over four hours a day on their sofa, it's easy to see how it becomes a hotspot for germs. Some studies have found that fabric upholstery can host up to 200,000 bacteria per square inch—yikes. That fact alone makes regular, proper cleaning a no-brainer for a healthy home. For a deeper dive, you can learn more about the upholstery cleaning market from recent research.
With this info in hand, you're ready to get that sofa looking and feeling fresh again.
Setting Your Sofa Up for a Deep Clean
Jumping straight into scrubbing might seem like the fastest way to get the job done, but it's the number one mistake I see that leads to a subpar clean. Before a single drop of cleaning solution ever touches your fabric, you've got to do some prep work. This isn't just about a quick pass with the vacuum; it’s about setting the stage for a flawless finish.
Think of it like painting a room. You wouldn't just slap a coat of paint on a dusty, unprepared wall, would you? The same logic applies here. Proper prep ensures your cleaning efforts actually work and prevents you from just pushing dirt deeper into the fibers.
First things first, clear the deck. Remove everything from the sofa—cushions, throws, pillows, the remote, and whatever else might be hiding. This gives you full access to every nook and cranny where crumbs, dust, and lost treasures like to accumulate.
Loosen Embedded Dirt and Debris
Before you even think about plugging in the vacuum, grab a stiff, dry brush. Using firm, short strokes, give the entire surface of the sofa a good brushing. This is a simple but often-missed step that's incredibly effective at agitating and loosening embedded dirt, pet dander, and dried-on grime that has become one with the fabric.
Work your way from top to bottom. This ensures that any dislodged gunk falls downwards, making your vacuuming way more efficient. Pay special attention to the high-traffic spots like the armrests and seat cushions; these are the areas that tend to hold onto dirt most stubbornly.
Pro Tip: Whatever you do, don't use a wet brush for this. The whole point is to lift dry debris, not create a muddy mess. A clean, stiff-bristled upholstery brush or even a new, clean hand brush works perfectly.
Master Your Vacuum Attachments
Okay, now it's time to vacuum. But put away that standard floor head. To really deep clean your sofa, you need to use the right tools for the job. Your vacuum’s attachments are your best friends here.
Start with the main upholstery attachment—it's usually a wide, flat head with a fabric strip. Use it to vacuum the larger surfaces like the back, arms, and the tops of your cushions. Overlap your strokes so you don't miss any spots.
Next, switch to the crevice tool. This long, narrow attachment is designed to get into all those tight spaces where debris loves to hide.
- Run it along every single seam and tuft.
- Get deep into the corners where the back and arms meet.
- Give the sofa frame a thorough vacuuming—the part that sits underneath the cushions.
For stubborn stuff like pet hair, the brush attachment is a game-changer. The bristles help lift and separate embedded hairs from the fabric, making them easier for the vacuum to suck up. If you're really struggling with pet hair, we've got a whole guide that dives deep into the best way to get dog hair off your couch with even more specialized tricks.
The Golden Rule of Spot Testing
You've done the hard prep work, and you're almost ready to start cleaning. But first, the most critical safety step of all: spot-testing. This is the golden rule that prevents a small cleaning job from turning into a furniture catastrophe.
Find a small, hidden spot on your sofa. The back of a skirt, the underside of a cushion, or a section that's always against the wall are all great choices. Apply a tiny amount of your cleaning solution to a clean white cloth and gently dab it onto your test area.
Now, you have to wait for it to dry completely, which can take an hour or more. Once it's dry, check for any sign of discoloration, color bleeding, or fabric damage. If the area looks exactly the same, you're good to go. Skipping this five-minute test could lead to permanent, visible damage. It's a small investment of time that offers huge peace of mind.
Choosing the Right Cleaning Method for Your Fabric
Alright, so you’ve vacuumed and prepped your sofa. Now comes the moment of truth: choosing your cleaning solution. This is where that little tag with the cleaning code becomes your best friend. Seriously. Picking the right method can bring your sofa back to life, but grabbing the wrong one can mean permanent water rings, weird discoloration, or even fabric shrinkage. Nightmare fuel.
Before you dive in, it helps to know what you're working with. Understanding the different kinds of fabrics is key. This guide on everything you need to know about upholstery materials is a great resource if you're curious. Once you know your fabric, you can match it to the right cleaner with confidence.
Think of this flowchart as your pre-flight checklist. Don't skip these steps before you let any cleaner touch your fabric.
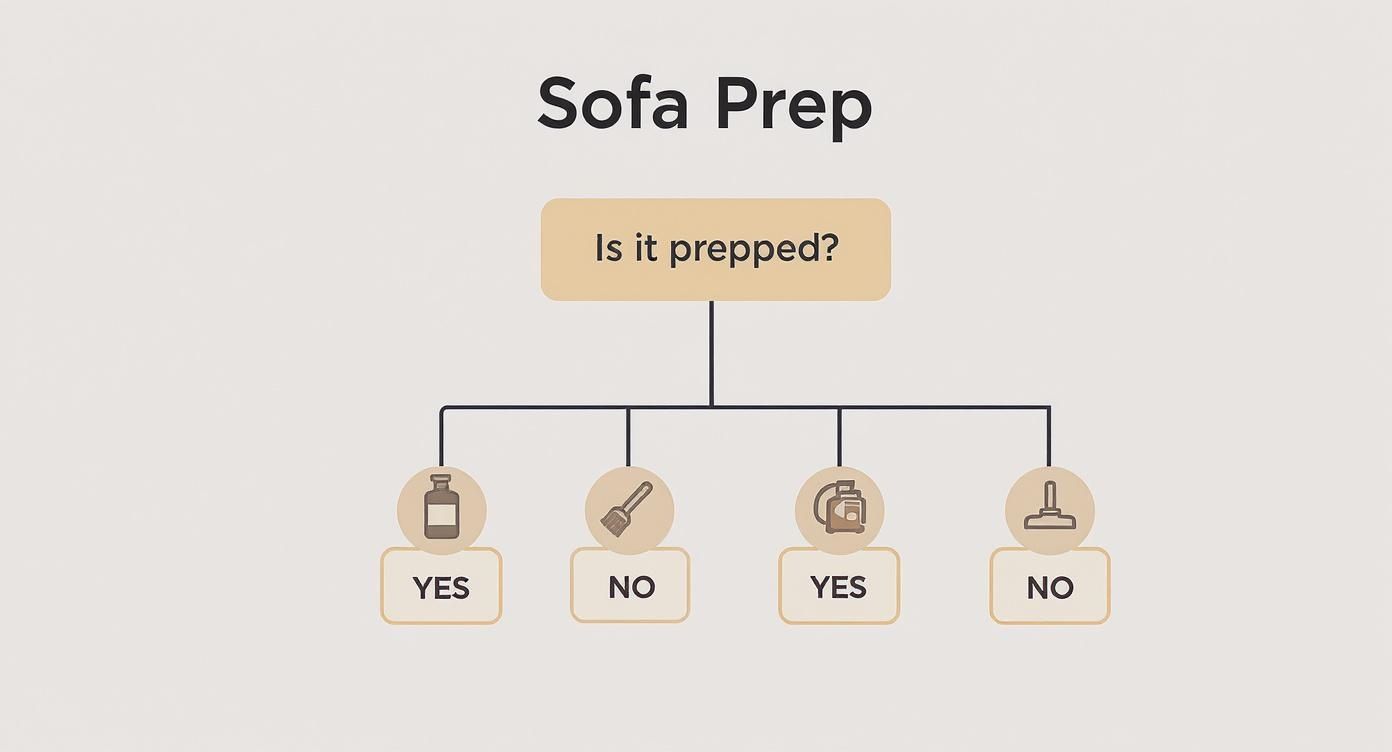
As you can see, a solid vacuuming and spot treatment plan is the foundation for getting great results. It’s non-negotiable.
Handling Water-Safe Fabrics (Code W)
If your tag says 'W', breathe a sigh of relief. This is the most common code out there and means you can use water-based cleaners. This opens up a world of simple, gentle DIY options using stuff you probably already have in your kitchen.
A fantastic, go-to solution is just a few drops of mild dish soap mixed into a bowl of lukewarm water. You're looking for suds, but not a full-on bubble bath—too much soap leaves a sticky residue that attracts more dirt later.
Here's how to tackle 'W' code fabric:
- Grab a clean, white microfiber cloth and dip it into your sudsy water. Wring it out well. You want it damp, not dripping wet.
- Gently blot any stains, working from the outside in. This keeps the stain from spreading.
- For an all-over clean, just lightly wipe down the whole sofa in sections with that same damp cloth.
- Next, use a different cloth dampened with just plain water to "rinse" away any leftover soap.
- Finish by blotting the areas with a dry towel to pull out as much moisture as you can.
Using Solvents on S-Code Upholstery
See an 'S' on your tag? This means water is the enemy. Using any water-based cleaner on these fabrics—often delicate stuff like silk or some velvets—will cause nasty water spots and can totally ruin the texture. You absolutely must use a water-free solvent, sometimes sold as a "dry cleaning solvent."
Working with solvents means you have to be smart about safety. The fumes are no joke.
Safety First: Don't mess around here. Open your windows, turn on a fan, and get some real air moving. Always read the product label and wear protective gloves to keep the stuff off your skin.
Apply the solvent to a clean, white cloth (never, ever pour it directly on the fabric) and gently blot the stain. Don't rub or scrub; you'll just damage the fibers. And as always, test it on a hidden spot first.
The Best of Both Worlds with W/S Fabrics
A 'W/S' code is great because it gives you options. You can use either water-based or solvent-based cleaners. So, which one do you pick? Let the stain decide for you.
- For water-based messes (soda, dirt, juice), start with the gentle soap and water method.
- For oil-based stains (grease, ink, salad dressing), a solvent cleaner is what you need to break down those oils.
My advice is to always start with the mildest method first (water-based). If that doesn't cut it, then you can move on to a solvent. It's just a smarter way to go, minimizing the harsh chemicals on your furniture.
The No-Go Zone for X-Code Fabrics
If you find an 'X' on the tag, it’s a hard stop. It means: Do Not Use Liquids. Period. These fabrics are incredibly sensitive to both moisture and solvents. Trying to clean them with anything wet will almost certainly cause shrinking, staining, and permanent damage.
For 'X' code upholstery, your only safe tools are your vacuum and a soft-bristled brush. You can gently brush the fabric to loosen any surface dirt and then vacuum it all away. If you have actual stains, this is one time where calling a professional is your only safe bet.
A Powerful Alternative: Low-Moisture Cleaning
For a lot of fabrics, especially 'W' and 'W/S' types, professional low-moisture cleaning is a game-changer compared to DIY. At Citrus Carpet Cleaning Buford, we use a special citrus-based solution that’s tough on grime but incredibly gentle on your furniture.
Our method completely avoids the risk of soaking your sofa, which is a common problem with DIY attempts that leads to crazy long drying times and even mildew growth. Our equipment gets deep into the fibers to lift out the dirt, and because we use so little water, your sofa is typically dry in just 1-2 hours.
More and more homeowners are realizing the value of professional care. The global sofa cleaning services market was valued at USD 7.23 billion in 2023 and is expected to hit USD 10.24 billion by 2030. That growth tells you people are tired of lackluster results and are investing in maintaining their furniture the right way.
DIY vs Professional Upholstery Cleaning
Deciding whether to tackle the job yourself or call in an expert can be tough. Both have their pros and cons depending on the fabric, the stain, and your comfort level. Here’s a quick breakdown to help you choose the best path for your sofa.
| Factor | DIY Cleaning | Professional Service (e.g., Citrus-Based) | Recommendation |
|---|---|---|---|
| Cost | Low initial cost; uses household items or store-bought cleaners. | Higher upfront investment. | For minor spills or routine upkeep on sturdy fabrics, DIY is budget-friendly. For deep cleaning or valuable furniture, a pro is a worthy investment. |
| Effectiveness | Good for surface-level dirt and fresh, simple stains. | Superior deep cleaning; removes embedded dirt, allergens, and tough stains. | If your sofa hasn't been cleaned in a while or has set-in stains, a professional service will deliver far better results. |
| Risk | High risk of over-wetting, fabric damage, or setting stains if done incorrectly. | Low risk; technicians are trained to handle various fabrics and use appropriate methods. | For delicate fabrics (S-code, silk, velvet) or if you're unsure, calling a pro is the safest bet to avoid costly mistakes. |
| Time & Effort | Can be time-consuming and physically demanding. | Fast and convenient; the work is done for you. | If you're short on time or don't want the hassle, a professional service is the clear winner. Low-moisture methods also mean much faster drying. |
| Equipment | Limited to basic tools like cloths, brushes, and maybe a rental machine. | Uses commercial-grade, high-powered equipment for extraction and agitation. | Professional equipment is simply unmatched by anything available to consumers and is key to a truly deep clean. |
Ultimately, while DIY methods have their place for quick clean-ups, a professional service provides a deeper, safer, and more effective clean. When you consider the longevity of your furniture and the quality of the results, investing in an expert often makes the most sense.
Advanced Tactics for Stubborn Stains and Odors
Sometimes, a general clean just won't cut it. You’re left staring at a stubborn, glaring spot that seems to mock your best efforts.
Whether it’s a splash of red wine from a lively dinner party or a muddy paw print from your four-legged friend, these tough stains and lingering odors require a more strategic approach. This is where you move beyond basic cleaning and into the realm of targeted stain removal.
The key is to act quickly and use the right technique for the specific mess. Panicking and scrubbing furiously is the fastest way to turn a small problem into a permanent one.
A Battle Plan for Common Sofa Stains
Every stain has its own unique chemical makeup. This means a one-size-fits-all cleaner is rarely the answer. Let's break down how to tackle some of the most common and frustrating culprits you're likely to run into.
Red Wine Spills
The classic party foul. The moment it happens, blot—don't rub—with a clean, dry cloth to absorb as much liquid as possible. Then you can try a couple of things:
- Salt Method: After blotting, dump a generous amount of table salt on the fresh stain. The salt will actually draw the wine out of the fibers. Let it sit for a few hours (or until it turns pink), then vacuum it all up.
- Club Soda: Lightly dab the area with a cloth soaked in club soda. The carbonation can help lift the stain particles right out of the fabric.
Coffee and Tea Stains
For that morning coffee mishap, start by blotting up any excess liquid immediately. Mix up a simple solution of one tablespoon of white vinegar, one tablespoon of liquid dish soap, and two cups of cool water. Apply this with a clean cloth, dabbing gently until the stain vanishes.
Ink Marks
An accidental pen mark can seem disastrous, but it's often fixable. For a fresh ink stain, rubbing alcohol is your best friend. Dampen a cotton ball with alcohol and gently blot the stain. Always work from the outside edge of the stain inward to keep it from spreading. In a pinch, hairspray that contains alcohol can also work.
Grease or Oil Stains
For greasy food stains, your first move is to absorb the oil. Sprinkle cornstarch or baking soda directly onto the spot and let it sit for about 15-20 minutes. The powder will pull the grease right out of the upholstery. Scrape it off and then treat any remaining discoloration with a tiny amount of dish soap on a damp cloth.
Eliminating Odors at the Source
Masking smells with air fresheners is a temporary fix. True freshness comes from eliminating the odor-causing bacteria at its source. A sofa can trap smells from pets, smoke, and food, creating a funk that permeates the whole room.
Luckily, you don't need harsh chemicals to neutralize them.
Start by sprinkling a generous layer of baking soda over the entire sofa. Don't be shy with it—cover all the cushions, get into the crevices, and hit the frame. Let it sit for several hours, or even overnight if you can. Baking soda is brilliant at absorbing and neutralizing odors. Once it's worked its magic, vacuum it up thoroughly using your brush and crevice tools.
For persistent smells, especially from pets, you need to bring out the big guns. This is where enzymatic cleaners come in. They don't just cover up smells; they release beneficial bacteria that consume and break down the organic gunk causing the odor in the first place.
Understanding Enzymatic Cleaners for Pet Accidents
Pet urine is particularly tough because it contains uric acid crystals, which don't dissolve in water. This is exactly why a simple soap-and-water approach often fails to eliminate the smell completely. As the urine dries, these crystals remain, and that awful smell can return, especially when it's humid.
An enzymatic cleaner is specifically designed for this fight. The enzymes in the formula act as catalysts to break down the uric acid into simple, odorless compounds like carbon dioxide and ammonia, which then just evaporate. If you want to dive into the science, you can learn more about what is an enzymatic cleaner and how it works. It's really the only way to destroy the odor at a molecular level and stop your pet from being attracted back to the same spot.
If you suspect a larger issue like dampness causing a musty smell, you might be dealing with mould. This guide on how to get rid of mould from upholstery offers some of the best ways to tackle it effectively. Proper identification and removal are key to protecting both your furniture and your health.
The Final Touch: Drying, Fluffing, and Maintenance
You’ve scrubbed, blotted, and vanquished those stubborn stains—congratulations! But before you sink back into your freshly cleaned sofa, there's a final, crucial phase that a lot of people overlook. How you dry and maintain your upholstery is just as important as how you clean it.
Believe me, improper drying is the number one cause of post-cleaning problems. I'm talking about mildew, musty smells, and frustrating water rings that can look even worse than the original stain. Your job isn't quite done, but these last steps are easy and will lock in that pristine look.
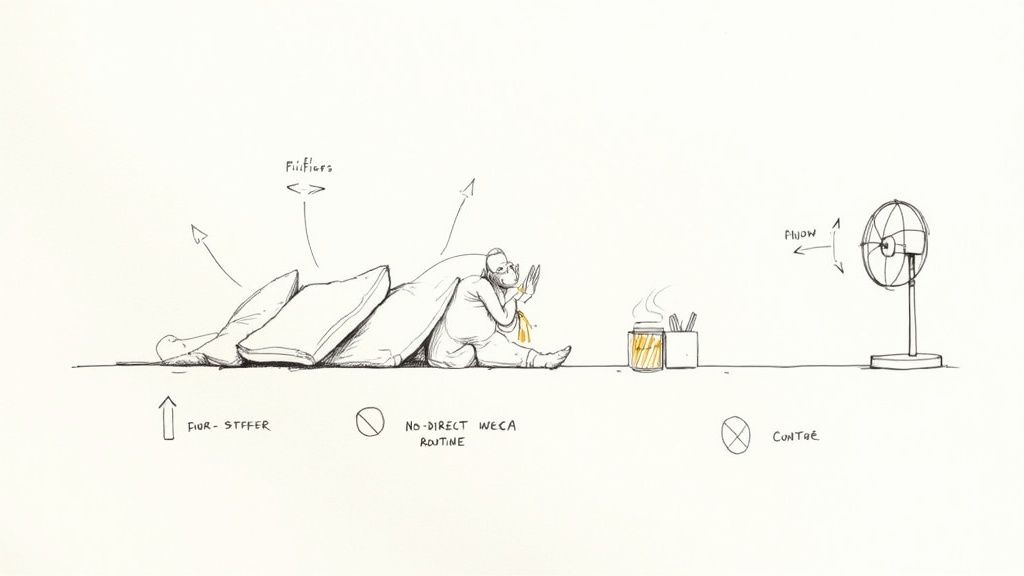
The Art of Safe and Efficient Drying
Patience is your best friend here. Whatever you do, resist the urge to speed things up with a hairdryer or space heater. Direct, intense heat can seriously damage or even shrink delicate upholstery fibers, leading to permanent puckering. Instead, your goal should be to maximize air circulation.
Open up some windows to get a fresh breeze going and place a few fans strategically around the sofa. The trick is to aim the fans so they blow air across the fabric's surface, not directly at it. This gentle airflow wicks away moisture evenly and cuts down drying time significantly without putting your sofa at risk.
Key Takeaway: Good ventilation is non-negotiable. Aim for a full 24 hours of drying time before putting cushions back or letting anyone sit down. This makes sure even the deepest parts of the cushions are completely dry.
A pro tip is to keep cushions propped up and separated from each other, letting air hit every single surface. If you cleaned both sides, make a point to flip them every few hours to help them dry uniformly.
Restoring Texture and Softness
Once your sofa is completely dry to the touch, you might notice that some fabrics—especially microfiber, velvet, or chenille—feel a bit stiff or look flat. This is perfectly normal. The cleaning process can tamp down the fabric’s pile, but bringing back that soft, inviting texture is simple.
Just grab a clean, soft-bristled upholstery brush. Using gentle, sweeping motions, brush the fabric against its natural grain first. Then, finish by brushing it in the direction of the pile. This quick "fluffing" lifts the fibers right back up, returning the fabric's plush feel and erasing any marks from cleaning.
Creating a Simple Maintenance Plan
Now that your sofa looks brand new, you’ll want to keep it that way. A consistent maintenance routine is the real secret to extending the life of your upholstery and stopping small messes from turning into major projects.
- Vacuum Weekly: Make vacuuming your sofa part of your regular cleaning schedule. Use the brush and crevice attachments to get rid of the weekly buildup of dust, crumbs, and pet dander before it gets ground deep into the fibers.
- Rotate Cushions Monthly: If your sofa has reversible cushions, flip and rotate them once a month. This simple step ensures even wear and tear, preventing certain spots from looking old and tired before their time.
- Act on Spills Immediately: This is the golden rule of upholstery care. Tackle spills the moment they happen. The longer a spill sits, the deeper it soaks in, making it exponentially harder to remove later.
The demand for professional upkeep is exploding; the global carpet and upholstery cleaning market is projected to hit USD 83,504.0 million by 2030. This just shows how much homeowners are starting to prioritize the health and longevity of their furniture. You can read more about this trend in the upholstery cleaning services market report. A little bit of proactive care on your part can save you from needing our help quite so often.
Knowing When to Call in the Big Guns
Look, DIY cleaning is a great way to handle the everyday messes and keep your furniture looking fresh. But there's a point where even the most enthusiastic DIY-er needs to know when to tap out.
Recognizing the limits of at-home methods isn't about giving up; it’s about protecting your investment. Pushing a home remedy too far is a surefire way to turn a simple spot into a permanent watermark or set a stain that a pro could have whisked away in minutes. Knowing when to put down the spray bottle and pick up the phone is just as important as knowing how to blot a spill.
When Your Best Efforts Just Aren't Cutting It
Sometimes, a stain is just plain out of your league. Stubborn, old, or massive stains often need more muscle than what you’ve got under the kitchen sink. If you've tried the gentle approach and the stain is still staring back at you, more scrubbing will likely just push it deeper into the foam.
The fabric itself is another huge red flag. If your sofa is dressed in anything fancy, proceed with extreme caution—or better yet, don't proceed at all.
- Delicate Materials: We're talking about fabrics like silk, velvet, wool, or anything with a scary 'S' (solvent only) or 'X' (vacuum only) cleaning code. One wrong move with water can lead to shrinking, water rings, or colors bleeding everywhere. A pro has seen it all and knows exactly how to handle these divas of the fabric world.
- All-Over Grime: Has your once-bright sofa taken on a dull, dingy look from years of use? If a surface wipe-down doesn't even make a dent, you need a professional deep clean to really pull out that embedded dirt and bring the color back to life.
- The Mystery Stain: No idea what that spot is? Don't guess. Using the wrong cleaner can create a chemical reaction that sets the stain for good. Professionals are like detectives; they can identify the culprit and use the right counter-agent to solve the case.
The Dangers of a Soggy Sofa
The number one mistake people make with DIY upholstery cleaning, especially with those rental machines, is using way too much water. It feels like more water should mean more clean, right? Wrong. Soaking your sofa is a recipe for disaster.
When you drench the fabric and the padding underneath, it can take days to dry completely. That damp, dark environment is a five-star resort for mold and mildew. Before you know it, you've traded a stain for a musty smell that's ten times worse. You also risk getting ugly water rings and browning as the fabric dries unevenly.
A professional low-moisture cleaning process avoids this danger entirely. It’s not about flooding the fabric; it’s about using a controlled amount of a powerful cleaning solution and immediately extracting it—and all the dirt—out. This is how you get a deep clean without the risk, leading to a much faster, safer dry time.
Why a Professional Citrus-Based Clean Is Different
This is exactly where a service like Citrus Carpet Cleaning Buford comes in. We’ve built our entire business around a low-moisture, citrus-based cleaning method that’s tough on grime but incredibly gentle on your furniture. Our natural citrus solvent gets to work dissolving oils, dirt, and allergens without needing harsh soaps that leave behind that sticky, dirt-attracting film.
The difference is night and day:
- Dries in a Flash: Because we use so little moisture, your furniture is typically dry and ready for movie night in just 1-2 hours. Not days.
- A Truly Deep Clean: Our commercial equipment gets deep into the fibers to agitate and extract years of trapped dirt. It's a level of clean that elbow grease and a rag simply can't match.
- No Sticky Film: Our soap-free formula means your upholstery won't get dirty again overnight. It just stays clean, soft, and fresh.
- Family and Pet-Friendly: Our citrus-based solution is a breath of fresh air—literally. It’s perfect for homes with kids and pets, leaving a light, pleasant scent without any harsh chemicals.
Don't just take our word for it. See the kind of results we get for our customers every day in these upholstery cleaning before-and-after photos.
Ready to get your furniture looking, feeling, and smelling like new without the risk? At Citrus Carpet Cleaning Buford, we believe in honest, upfront pricing. No games, no hidden fees. Contact us today for your free EXACT-imate and let our experts bring your furniture back to life.